Screw Gauge Experiment for Measuring Wire Diameter

Screw Gauge Experiment for Measuring Wire Diameter

The screw gauge experiment focuses on measuring the diameter of a given wire and calculating its volume. It includes detailed procedures for determining the least count, zero error, and total readings using a screw gauge. Students will learn to take multiple measurements at different positions along the wire to ensure accuracy. This experiment is essential for physics students studying measurement techniques and precision instruments. It provides practical insights into the application of screw gauges in laboratory settings.

Key Points

  • Explains the procedure for measuring wire diameter using a screw gauge.
  • Includes calculations for determining the volume of the wire based on diameter measurements.
  • Covers the importance of zero error and least count in obtaining accurate readings.
  • Details the method for taking multiple measurements to ensure precision in results.
344
/ 4
EXPERIMENT 3
SCREW GAUGE - 1
AIM
To measure diameter of a given wire using a screw gauge and find its volume.
APPARATUS
Screw gauge, wire.
THEORY
1. If with the wire between plane faces A and B, the edge of the cap lies ahead of Nth
division of linear scale.
Then, linear scale reading (L.S.R.) = N
If nth division of circular scale lies over reference line.
Then, circular scale reading (C.S.R.) = n x (L.C.) (L.C. is least count of screw gauge)
Total reading (T.R) = L.S.R. + C.S.R. = N + n x (L.C.).
. .
DIAGRAM
. Screw gauge-measuring diameter (thickness) of the wire
PROCEDURE
1. Find the value of one linear scale division (L.S.D.).
2. Determine the pitch and the least count of the screw gauge and record it stepwise. . .
3. Bring the plane face B in contact with plane face A and find the zero error. Do it three
times and record them. If there is no zero error, then record 'zero error nil'.
4. Move the face B away from face A. Place the wire lengthwise over face A and move
.the face B towards face A using the ratchet head R. Stop when R turns (slips) without
moving the screw.
5. Note the number of divisions of the linear scale visible and uncovered by the edge of
the cap. The reading (N) is called linear scale reading (L.S.R.).
6. Note the number (n) of the division of the circular scale lying over reference line.
7. Repeat steps 5 and 6 after rotating the wire by 90° for measuring diameter in a
perpendicular direction.
8. Repeat steps 4, 5, 6 and 7 for five different positions separated equally throughout
the length of the wire. Record the observations in each set in a tabular form.
9. Find total reading and apply zero correction in each case.
10. Take mean of different values of diameter.
11. Measure the length of the wire by stretching it along a half metre scale. Keeping one
end of wire at a known mark , note the position of other end. Difference in position of
the two ends of the wire gives the length of the wire. Do it three times and record
them.
OBSERVATIONS
1. Determination of Least Count of the Screw Gauge
1L.S.D. = 1mm
Number of full rotations given to screw = 4
Distance moved by the screw = 4 mm
Hence, pitch=
4mm
4
=1mm
Number of divisions on circular scale = 100
Hence, least count =
1mm
100
= 0.01 mm = 0.001 cm.
2. Zero Error.
zero error (e) = mm
zero correction (c) = …….mm.
To measure the diameter
Serial No.
Linear Scale
Reading (N)
Observed circular
scale division
Corrected circular
Scale Reading (n
×V.C)
Total Reading
(T.R=l..S.R+C.S.
R)
CALCULATIONS
Mean diameter =……..mm
RESULT
The diameter of the given wire = ………….
PRECAUTIONS
1. To avoid undue pressure; the screw should always be rotated by ratchet R and not
by cap K.
2.The screw should move freely without friction.
3.The zero correction, with proper sign should be noted very carefully and added
algebraically.
4.For same set of observations, the screw should be moved in the same direction to
avoid back-lash error of the screw.
5.At each place, the diameter of the wire should be measured in two perpendicular
directions and then the mean of the two be taken.
6.Readings should be taken at least for five different places equally spaced along the
whole length of the wire.
7.Error due to parallax should be avoided.
SOURCES OF ERROR
1. The screw may have friction.
2. The screw gauge may have back-lash error.
3. Circular scale divisions may not be of equal size .
4. The wire may not be uniform.
EXPERIMENT 4
SCREW GAUGE -2
AIM
To measure thickness of a given. sheet using a screw gauge.
APPARATUS
Screw gauge, sheet (it must be rigid).
THEORY
1. If with the wire between plane faces A and B, the edge of the cap lies ahead of Nth
division of linear scale.
Then, linear scale reading (L.S.R.) = N
If nth division of circular scale lies over reference line.
Then, circular scale reading (C.S.R.) = n x (L.C.) (L.C. is least count of screw gauge)
Total reading (T.R) = L.S.R. + C.S.R. = N + n x (L.C.).
PROCEDURE
1. Find the value of one linear scale division (L.S.D.).
2. Determine the pitch and the least count of the screw gauge and record it stepwise. . .
3. Bring the plane face B in contact with plane face A and find the zero error. Do it three
times and record them. If there is no zero error, then record 'zero error nil'.
4. Move the face B away from face A. Place the sheet lengthwise over face A and move
.the face B towards face A using the ratchet head R. Stop when R turns (slips) without
moving the screw.
5. Note the number of divisions of the linear scale visible and uncovered by the edge of
the cap. The reading (N) is called linear scale reading (L.S.R.).
6. Note the number (n) of the division of the circular scale lying over reference line.
7. Repeat steps 4,5,6 for 5 different positions spread equally throughout the surface of
the sheet. Record observation in tabular form.
8. Find total reading and apply zero correction in each case.
OBSERVATIONS
1. Determination of Least Count of the Screw Gauge
1L.S.D. = 1mm , Number of full rotations given to screw = 4
Distance moved by the screw = 4 mm. Hence, pitch=
4mm
4
=1mm
Number of divisions on circular scale = 100
Hence, least count =
1mm
100
= 0.01 mm = 0.001 cm.
2. Zero Error.
zero error (e) = mm , zero correction (c) = …….mm.
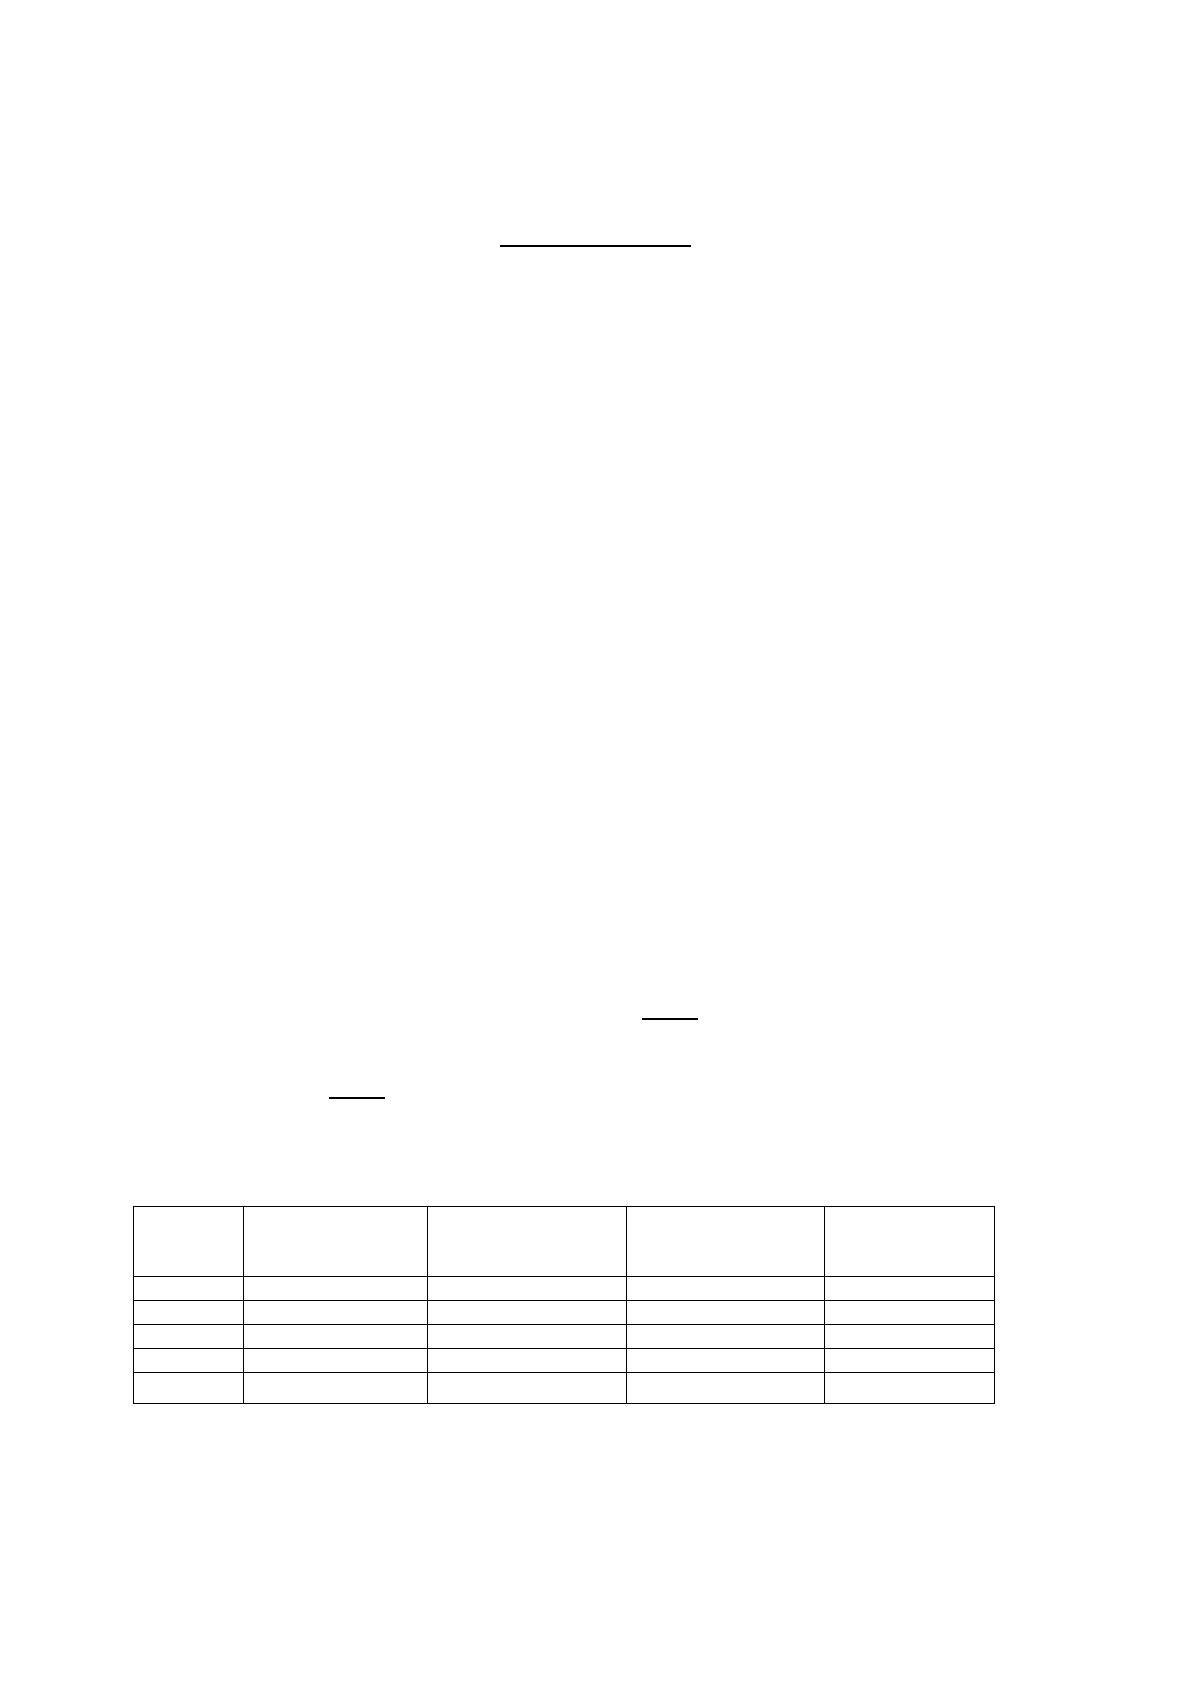
To measure the thickness
Serial No.
Linea r Scale
Reading (N)
Observed circular
scale division
Corrected circular
Scale Reading (n
×V.C)
Total Reading
(T.R=l..S.R+C.S.
R)
CALCULATIONS
Mean thickness =……..mm
RESULT
The thickness of the given wire = ………..
/ 4
End of Document
344
You May Also Like

FAQs of Screw Gauge Experiment for Measuring Wire Diameter

What is the procedure for measuring wire diameter with a screw gauge?
To measure the diameter of a wire using a screw gauge, first determine the least count and zero error of the gauge. Place the wire between the plane faces of the screw gauge and adjust until the ratchet slips, indicating contact. Record the linear scale reading and the circular scale reading to calculate the total reading. Repeat this process at different positions along the wire for accuracy.
How do you calculate the volume of the wire after measuring its diameter?
The volume of the wire can be calculated using the formula for the volume of a cylinder, which is V = πr²h, where r is the radius and h is the length of the wire. After measuring the diameter, divide it by two to find the radius. Multiply the radius squared by the length of the wire and then by π to obtain the volume.
What factors can introduce errors in the screw gauge measurements?
Several factors can introduce errors in screw gauge measurements, including friction in the screw mechanism, backlash errors when moving the screw, and inaccuracies in the circular scale divisions. Additionally, if the wire is not uniform in thickness, this can lead to inconsistent readings. Proper technique and careful handling can help minimize these errors.
Why is it important to measure the diameter in two perpendicular directions?
Measuring the diameter of the wire in two perpendicular directions is crucial for ensuring accuracy and consistency in the results. This practice helps identify any irregularities in the wire's thickness and provides a more reliable average diameter. Taking multiple measurements allows for better assessment of the wire's uniformity.
What is the significance of zero error in screw gauge measurements?
Zero error is significant in screw gauge measurements as it indicates any systematic error present in the instrument when it is not in use. Identifying and correcting for zero error ensures that the readings taken are accurate. It is essential to record zero error before taking measurements to apply the necessary corrections.

Related of Screw Gauge Experiment for Measuring Wire Diameter